threelet
threelet is a three.js based component for rapidly developing 3D/WebXR apps all at once!
Using threelet's built-in features, developers who have a minimal knowledge of three.js can immediately start writing interactive 3D apps with less code.
Some notable features include:
- built-in render loop manager (with auto VR context switching),
- function interface
.update = (t, dt) => {}for programming temporal 3D scenes, and - input device abstraction: mouse/pointer/xr-controller event listeners.
Demos
Basic demos
-
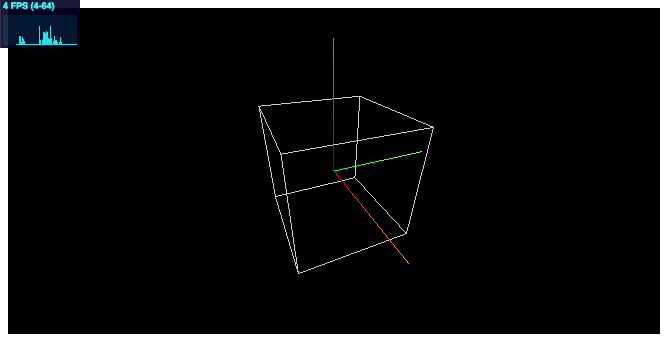
Hello world (with the default axes and a unit lattice) [ live source Observable ] -
Hello VR world [ live source Observable ] -
Hybrid apps with WebXR buttons. [ live source ] -
App with a static scene (mouse-event driven passive rendering) [ live source Observable ] -
App with a dynamic scene (rendering at 30 fps) [ live source Observable ] -
App extending the Threeletclass (Object-Oriented Programming) [ livesource ] -
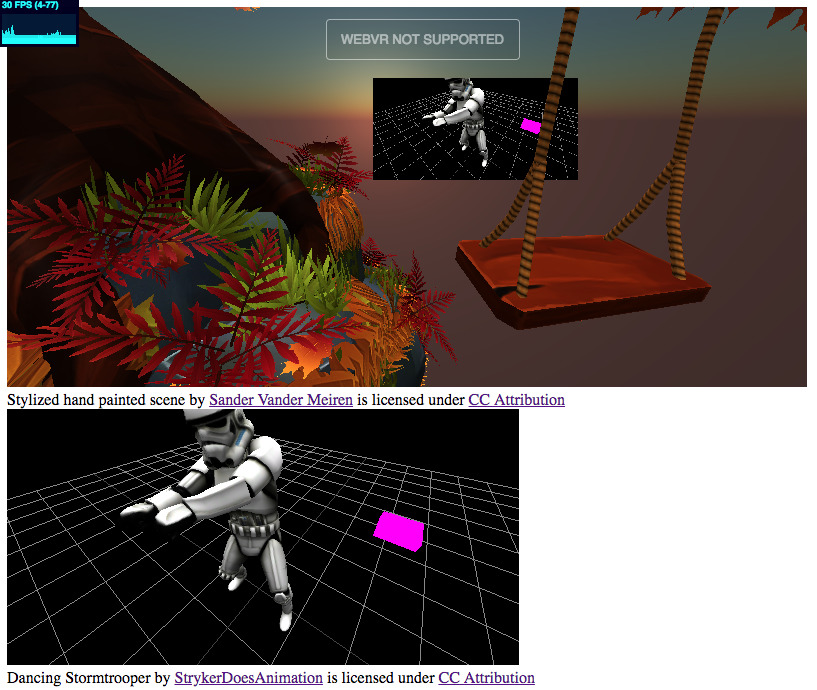
Embedding a 3D viewer into a web page. [ live source ] -
💡 Embedding multiple independent viewers into a web page. [ live source ] -
Hello glTF animation. [ live source ] -
🦀 rust-canvas-hello: Drawing on a 3D plane via wasm-bindgen and Rust. [ live source ]
App demos
-
VR app with interactive objects [ live source Observable ] -
🎮 WebXR controller state visualizer [ live source video ] -
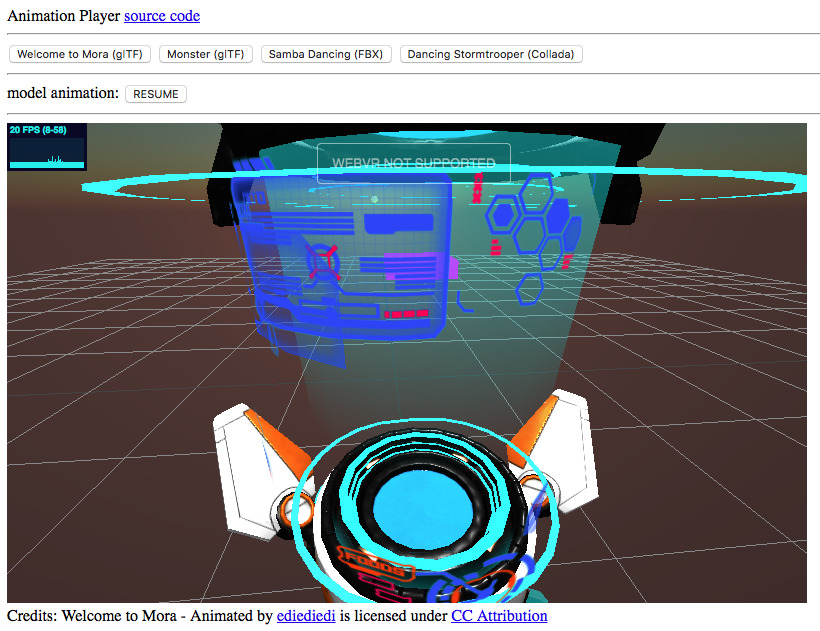
🎬 Animation player (with glTF, FBX and Collada models). [ live source ] -
glTF model selection panel. [ live source ] -
In-window VR casting. [ live source ] -
🎨 vr-paint app [ live source ] -
🤖 ML app (MNIST with LeNet) [ live source ] 🔗 -
🦀 rust-canvas-juliaset: Interactive 3D app that can visualize Julia sets. [ live source ] -
🦀 rust-fern-bench: WebXR app for benchmarking fractal computation with Rust+wasm vs JavaScript. [ live source video ] -
🗺️ geo-viewer [ live source ] 🔗
Screenshots
Installation
$ npm i threelet
Hello world
<canvas id="canvas" style="width: 100%; height: 100%;"></canvas>

<script src="../deps/three/build/three.min.js"></script>
<script src="../deps/three/examples/js/controls/OrbitControls.js"></script>
<script src="../deps/three/examples/js/libs/stats.min.js"></script>

<script src="../../dist/threelet.min.js"></script>

<script>
const threelet = new Threelet({
    canvas: document.getElementById('canvas'),
});

threelet.setup('mod-controls', THREE.OrbitControls);
threelet.setup('mod-stats', window.Stats);

threelet.render(); // first time
</script>
| live | source code |
More usage
Basic
camera, scene and renderer can be automatically/manually configured:
const threelet = new Threelet({canvas: myCanvas});
// now the following objects are all set
//   threelet.camera
//   threelet.scene (with the default axes and a unit lattice)
//   threelet.renderer
scene can be customized as:
const threelet = new Threelet({
    canvas: myCanvas,
    optScene: myScene, // instantiate with a custom scene
});

threelet.scene.add(myObject) // add an object to the scene
specifying render modes (passive, active, and fps-throttled) by the built-in loop controller:
threelet.updateLoop(fps); // render at fps using the built-in looper

threelet.render(); // atomic render manually
| programming 3D scene dynamics (example | source): |
threelet.update = (t, dt) => {
   // your implementation
};
dispose() terminates the loop and disposes all the scene objects:
threelet.dispose();
Parameters
Calling the constructor with the default parameters looks as:
const threelet = new Threelet({
    canvas: null,
    width: 480,
    height: 320,
    // ---- viewer options ----
    optScene: null,
    optVR: false, // enable VR 🔥
    optAR: false, // enable AR 🔥
    optXR: false, // enable both VR/AR
    optVRAppendButtonTo: null, // specify an HTML element where the VR button is appended
    optARAppendButtonTo: null, // specify an HTML element where the AR button is appended
    optAxes: true, // axes and a unit lattice
    optCameraPosition: [0, 1, 2], // initial camera position in desktop mode
});
Extending the Threelet class (Object-Oriented Programming)
| example | source |
class App extends Threelet {
    // override
    onCreate(params) {
        // ...
    }

    // override
    onUpdate(t, dt) { // note: this method is not called when this.update is defined
        // ...
    }

    // override
    onDestroy() {
        // ...
    }
}
Embedding
Without the canvas parameter, the constructor creates an inline-block div element (threelet.domElement) that is ready to be embedded into a web page.
| Examples: single | multiple |
<div>
    This <span id="viewer"></span> is an inline-block element.
</div>

<script>
const threelet = new Threelet({width: 480, height: 320});
document.getElementById('viewer').appendChild(threelet.domElement);
</script>
High-level input management
| example | source |
threelet.setupMouseInterface({
    onClick: (mx, my) => { /* ... */ },
    onDrag: (mx, my) => { /* ... */ },
    onDragStart: (mx, my) => { /* ... */ },
    onDragEnd: (mx, my) => { /* ... */ },
});

threelet.setupPointerInterface({
    onClick: (mx, my) => { /* ... */ },
    onDrag: (mx, my) => { /* ... */ },
    onDragStart: (mx, my) => { /* ... */ },
    onDragEnd: (mx, my) => { /* ... */ },
});

threelet.setupTouchInterface({
    onClick: (mx, my) => { /* ... */ },
    onDrag: (mx, my) => { /* ... */ },
    onDragStart: (mx, my) => { /* ... */ },
    onDragEnd: (mx, my) => { /* ... */ },
});
Low-level event listeners
setting mouse/pointer/touch listeners:
| example | source |
// mx, my: mouse coordinates

threelet.on('mouse-click', (mx, my) => { /* ... */ }); // alias of 'mouse-click-left'
threelet.on('mouse-click-left', (mx, my) => { /* ... */ });
threelet.on('mouse-click-middle', (mx, my) => { /* ... */ });
threelet.on('mouse-click-right', (mx, my) => { /* ... */ });
threelet.on('mouse-down', (mx, my) => { /* ... */ }); // alias of 'mouse-down-left'
threelet.on('mouse-down-left', (mx, my) => { /* ... */ });
threelet.on('mouse-down-middle', (mx, my) => { /* ... */ });
threelet.on('mouse-down-right', (mx, my) => { /* ... */ });
threelet.on('mouse-move', (mx, my) => { /* ... */ });
threelet.on('mouse-up', (mx, my) => { /* ... */ });
threelet.on('mouse-drag-end', (mx, my) => { /* ... */ });

threelet.on('pointer-click', (mx, my) => { /* ... */ }); // alias of 'pointer-click-left'
threelet.on('pointer-click-left', (mx, my) => { /* ... */ });
threelet.on('pointer-click-middle', (mx, my) => { /* ... */ });
threelet.on('pointer-click-right', (mx, my) => { /* ... */ });
threelet.on('pointer-down', (mx, my) => { /* ... */ }); // alias of 'pointer-down-left'
threelet.on('pointer-down-left', (mx, my) => { /* ... */ });
threelet.on('pointer-down-middle', (mx, my) => { /* ... */ });
threelet.on('pointer-down-right', (mx, my) => { /* ... */ });
threelet.on('pointer-move', (mx, my) => { /* ... */ });
threelet.on('pointer-up', (mx, my) => { /* ... */ });
threelet.on('pointer-drag-end', (mx, my) => { /* ... */ });

threelet.on('touch-start', (mx, my) => { /* ... */ });
threelet.on('touch-move', (mx, my) => { /* ... */ });
threelet.on('touch-end', (mx, my) => { /* ... */ });
threelet.on('touch-click', (mx, my) => { /* ... */ });
threelet.on('touch-drag-end', (mx, my) => { /* ... */ });
setting VR controller listeners:
| example | source |
// i: controller index
// x, y: controller touchpad coordinates

threelet.on('xr-trigger-press-start', i => { /* ... */ });
threelet.on('xr-trigger-press-end', i => { /* ... */ });

// WIP
threelet.on('xr-touchpad-touch-start', (i, x, y) => { /* ... */ });
threelet.on('xr-touchpad-touch-end', (i, x, y) => { /* ... */ });
threelet.on('xr-touchpad-press-start', (i, x, y) => { /* ... */ });
threelet.on('xr-touchpad-press-end', (i, x, y) => { /* ... */ });
unsetting listeners:
threelet.on(eventName, null);
Raycasting
threelet.raycast(origin, direction, meshes, recursive=false, faceExclude=null);
threelet.raycastFromMouse(mx, my, meshes, recursive=false); // mx, my: mouse coordinates
threelet.raycastFromController(i, meshes, recursive=false); // i: VR controller index
Utils
animation loading:
| example | source |
// Using 'three/examples/jsm/loaders/GLTFLoader.js'
const data = await Threelet.Utils.loadGLTF(GLTFLoader, path, file);

// Using 'three/examples/jsm/loaders/FBXLoader.js'
const data = await Threelet.Utils.loadFBX(FBXLoader, path);

// Using 'three/examples/jsm/loaders/ColladaLoader.js'
const data = await Threelet.Utils.loadCollada(ColladaLoader, path);
creating test THREE objects (used in the examples for shortcuts):
const obj = Threelet.Utils.createTestHemisphereLight();
const obj = Threelet.Utils.createTestDirectionalLight();
const obj = Threelet.Utils.createTestCube(size=[0.4, 0.1, 0.4], color=0xff00ff, wireframe=false);
const objs = Threelet.Utils.createTestObjects(offset=[0, 1, -2]);
External modules
OrbitControls, stats (and more to be added in future):
<script src="OrbitControls.js"></script>
<script src="stats.min.js"></script>
threelet.setup('mod-controls', THREE.OrbitControls); // enable controls
threelet.setup('mod-stats', window.Stats); // show the stats meter
Sky based on the shaders/sky example in three.js:
<script src="Sky.js"></script>

threelet.setup('mod-sky', THREE.Sky); // show sky with the analytical daylight
Build
$ npm i
$ npm run build


